How to Create a Daily, Weekly, or Yearly Planner in Canva?
Feeling overwhelmed? Experiencing delays or struggling to schedule your time in your daily life? Please don't worry about it! With a bit of effort and a small amount of dedication, you can easily overcome this issue. By creating a daily planner, you can manage your to-dos effortlessly, stay productive, track important dates, and ensure you never miss an appointment.
In this article, we'll provide a detailed answer to the question of how to create a daily, weekly, or yearly planner from scratch in Canva Platform.
To start using Canva, you can sign up for a free account here.
You may also like our "What-is-canva-how-to-use-it" article.
Planners
Planners are a fantastic way to keep our lives organized and increase productivity. There couldn't be a better time to start using a planner. However, finding a planner that perfectly suits your needs can be challenging. On the other hand, the idea of "making your own planner" might be daunting for many.
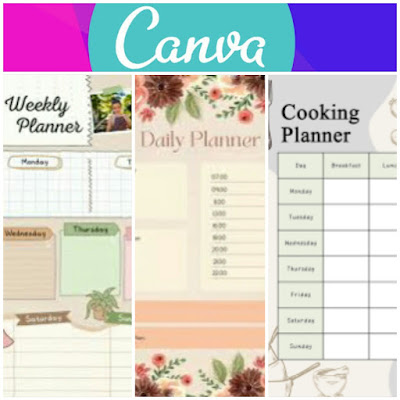
But fear not! Creating your planner with Canva Platform is the easiest thing in the world. Canva offers countless templates to choose from, and you can customize them however you like. Whether you want to create daily, weekly, or yearly planners, the control is entirely yours.
Creating a Planner
With a completely personalized daily planner in Canva Platform, you can easily manage your "to-dos" list. Moreover, creating your planner in Canva is really a fun process.
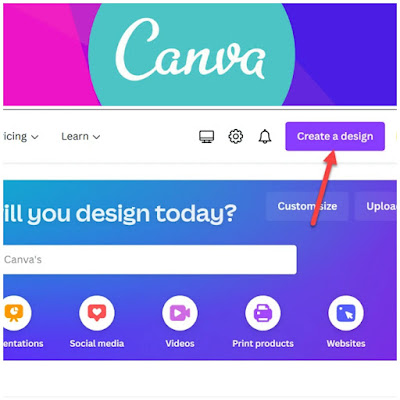
To create a planner, go to canva.com and log in to your account. Then, click on the "Create a Design" button.
Next, choose "Planner" from the options that appear. If you can't find it right away, use the search option and then select "Planner."
A blank design will open along with template options on the left that you can choose from. While you can create your planner from scratch, we recommend using a template for faster results. Canva's drag-and-drop feature and excellent daily planner examples make designing your daily planner easy, without the need for additional design software or programs.
In Canva's templates, you can find ready-made themes for daily, weekly, monthly, and yearly planners. Choose the template based on your needs. Click on the template, and it will load onto the design page on the right.
If you want consistency across all three, some templates have all three types on separate pages. Click on the template, then for each page, click on "Add a new page" on the right, select the "Weekly Planner" template, and similarly add the "Monthly Planner" template. Alternatively, you can directly click on the "Apply to all pages" button.
Customizing the Planner
While you can download the planner as it is, the best thing you can do in Canva is to further customize and personalize it.
Every element in the planner is customizable and can be rearranged or even removed. Here's a tip: Left-click and drag the mouse across the entire page, or use the keyboard shortcuts (Ctrl + A for Windows / Cmd + A for Mac). All customizable elements will be highlighted in blue boxes, allowing you to individually customize each element on the design.
To customize a specific element, simply click on it. For example, to customize the text at the top of the planner, click on the existing text element. Once selected, you can delete or move it, change the text, modify the font, size, color, and more.
You can also add additional elements such as stickers, illustrations, icons, images, speech bubbles, and much more. Click on the "Elements" tab on the left toolbar to add graphics, photos, videos, stickers, etc., to your planner design.
If you are a free user on Canva, there are many graphics and visuals available for free. Alternatively, you can make a payment to use premium elements or purchase a Canva Pro membership.
Downloading the Planner
If you tend to remember things better when you write them down, make sure to print your planner. Just click on the "Download" button under the share menu, save your design as a high-resolution PNG file or a print-ready PDF file, and you're ready to go!
So, when your planner is complete in Canva, you can download it. Click on the "Share" button in the top right corner of the screen. Then choose "Download" from the menu.
Depending on whether you want to use it as a printed or digital planner, select the PDF format. If you want to print it, choose "PDF Print" as the type. Otherwise, select "PDF Standard" to use it as a digital planner.
After that, click the "Download" button.
If you plan to use it as a digital planner, you can use applications like Notes on iPhone or iPad or other applications like Adobe on Windows that allow you to fill in areas.
Planners can help you keep your life organized and ensure that important tasks don't get overlooked. With Canva, you can create planners tailored to your needs.
To start using Canva, you can sign up for a free account here.
Good luck!


